How to Use Sensors to Automatically Trigger Other Mercator Ikuü Products
If you would like to use a Mercator Ikuü sensor to automatically trigger other Mercator Ikuü products to perform an action (such as turning lights on when motion is detected), you can create an automation.
An automation can involve as many of your Mercator Ikuü products as you would like, and those products can perform any of their product-specific features. You can also add delays between product actions to further customise your automated setup. See How to Automate Your Products to learn more about what automations can do.
Follow these steps to create a sensor-triggered automation:
- Tap the settings icon (
 ) and then tap the + icon.
 - Select ‘when a device’s status changes’ and scroll through to find the sensor you want to use.
- Select the appropriate state (trigger), depending on which sensor you are using.
Note: The below example uses a motion sensor, but contact and environmental sensors can be configured in the same way.
4. Now that the trigger is set, select what will happen when the automation is triggered.
| Activate a Device | What a device will do when the automation is triggered. You can add any number of actions from any number of products. |
| Run an Automation | Trigger another automation you have already created. |
| Send a Notification | A notification will be sent to you when a condition is met (useful when you aren’t at home). |
| Delay an Action | Creates a delay on a product action. |
You can add more device actions by selecting the + icon beside ‘task’ and repeating the steps above. You can do this for as many products and actions as you’d like, or if you would like to add a delay, simply tap ‘delay an action’. Note: the order product actions will occur is based upon the order they appear in the task list.
To delete any actions, swipe left on the action you would like to remove then tap ‘delete’.
To reorder device actions, swipe left on any action and select ‘more’. Press and hold to re-order any device actions, then tap ‘done’.
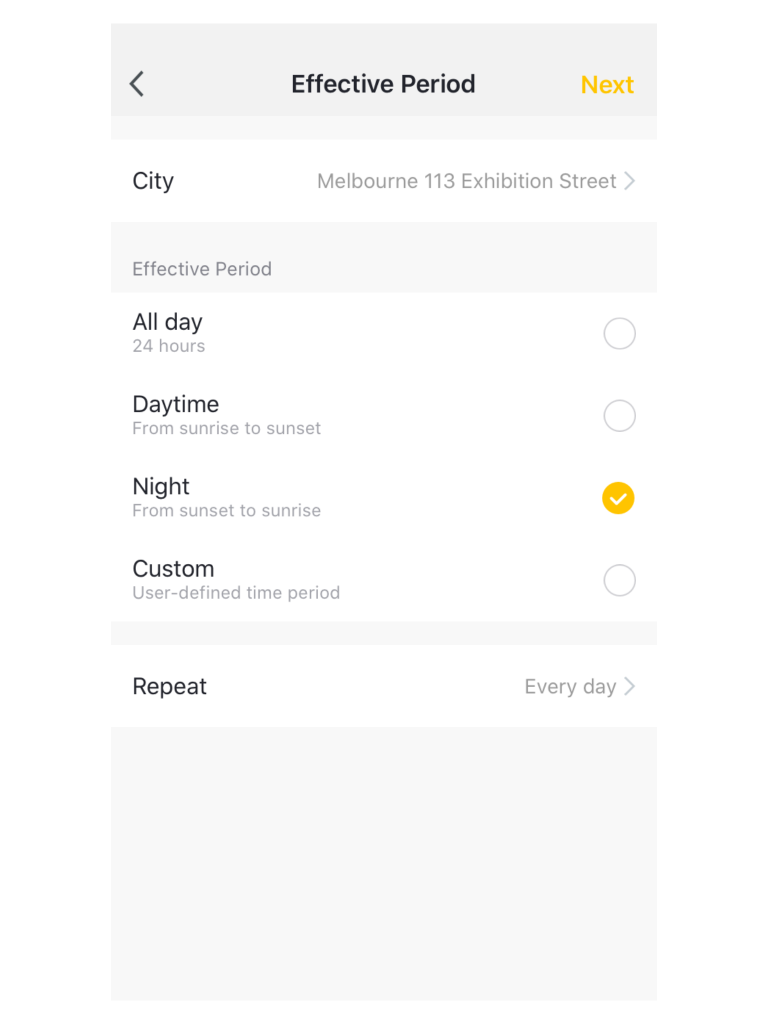
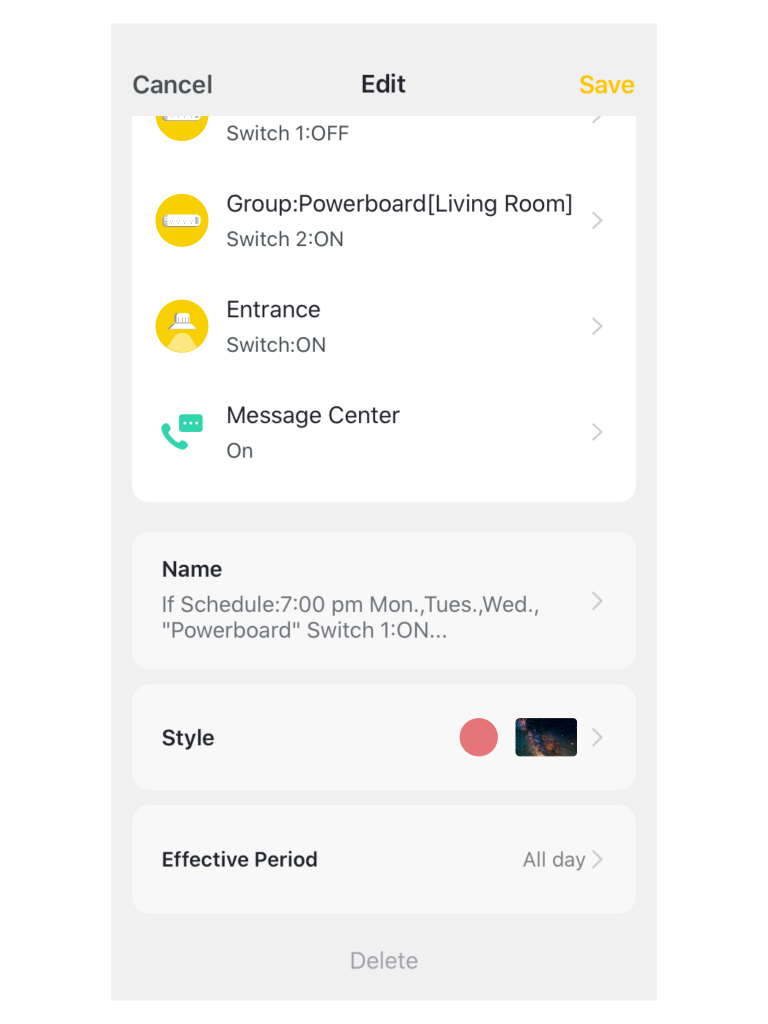
You can adjust the name of the scene and effective period at any time.
Tap ‘save’ at the bottom of the screen when you have finished creating or editing your automation. Your new or edited automation will now appear in the automation list.
Edit an Automation
Tap on the 3 dots next to the name of the automation. You can make edits at any time, and the changes will be applied instantly. To return to the dashboard, tap the settings icon.
Delete an Automation
To delete an automation, open the automation edit page, then scroll down and select ‘delete’.
Disable or Enable an Automation
If you want to disable an automation without deleting it, tap the name of the automation and choose ‘disable’. You can enable the automation again by choosing ‘enable’. The is a useful option when you want an automation to occur at certain times, but don’t want to recreate it (for example, an automation that you only want enabled when you are on holiday).