Multi-way switching with automation
Mercator Ikuü features a wide range of ways products can interact together. Traditionally if you wanted 2 or more light switches to control the same bank of lights they’d need to be connected via cable. This is something that needs to be done by the electrician when they connect the switches to the lights [load] and cannot be changed afterwards unless an electrician re-wires the connections.
With Mercator Ikuü you no longer need a physical cable to connect your products for them to work together. If you’d like to use a Mercator Ikuü light switch in a multi-way configuration, the switch needs to be powered [active and neutral [if applicable]] but have no load connected to the switch terminal. This means the switch will be able to turn on and off via the physical switch and app, but it won’t turn anything on or off unless an automation is set. For instance, you may have a 3-gang switch that has downlights connected to 1 switch, an exhaust fan connected to another switch and the third switch left without a load. This third switch can then be programmed using an automation to be part of a multi-way switching configuration for lights that are connected to another Mercator Ikuü smart switch somewhere else in the home.
In order to configure multi-way automation you need to set 2 automations, one to turn the lights on and one to turn the lights off.
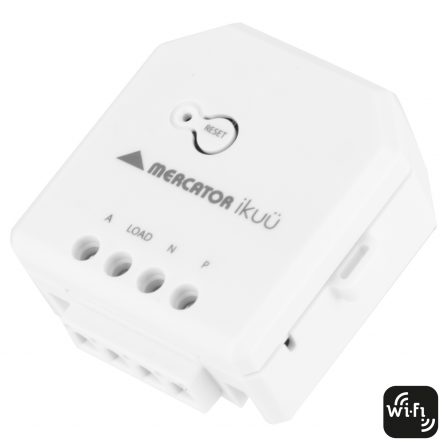
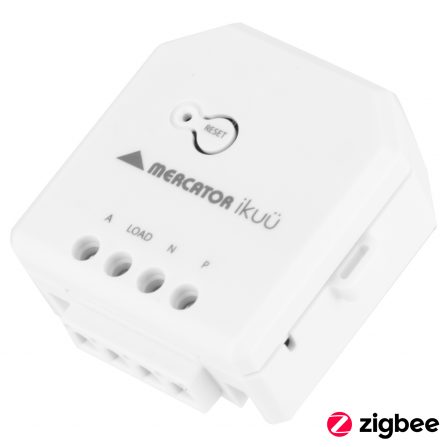
Make sure both switches are paired to the app before completing the below steps. For help pairing your switches please click here for Zigbee or click here for Wi-Fi pairing instructions. The switches in the multi-way configuration don’t have to be the same protocol.
How to create an automation for a multi-way circuit to switch on:
- Tap the settings icon
 and then tap the + icon.
 - Select ‘when a device’s status changes’
- Select one of the switches you’d like to be part of the multi-way configuration. You will need to select the wall plate first, then the actual switch. Select ‘on’.
- Tap ‘activate a device’ and select the same switch wall plate and actual switch as per the above step. Tap ‘save’ > ‘next’.
- Repeat step 3 and 4 for all of the switches involved in the multi-way switching. This means if you have a 2-way switch you should have 2 x conditions and 2 x actions that are the same.
- Adjust the name of the scene and tap ‘save’.
The above automation will mean that when any of the switches are turned on, all will turn on [including the one connected to the load]. We will now repeat the above to switch them all ‘off’.
- Tap the settings icon
 and then tap the + icon.
 - Select ‘when a device’s status changes’
- Select one of the switches you’d like to be part of the multi-way configuration. You will need to select the wall plate first, then the actual switch. Select ‘off’.
- Tap ‘activate a device’ and select the same switch wall plate and actual switch as per the above step. Tap ‘save’ > ‘next’.
- Repeat step 3 and 4 for all the switches involved in the multi-way switching. This means if you have a 2-way switch you should have 2 x conditions and 2 x actions that are the same.
- Adjust the name of the scene and tap ‘save’.
The above automation will mean that when any of the switches are turned off, all will turn off [including the one connected to the load].
Tips:
- Make sure that you have any condition is met selected in the ‘condition’ section
- Make sure that your conditions match the task – this means that any of the switches will activate turn on the light
- Make sure that for your ‘on’ automation all of the conditions and tasks are ‘on’ and vice-versa for the ‘off’ automation.

Note: automations require internet connection in order to occur. If you don’t have internet access, the switch that is connected to the product will continue to work as usual, the others will work again once the internet connection is restored.